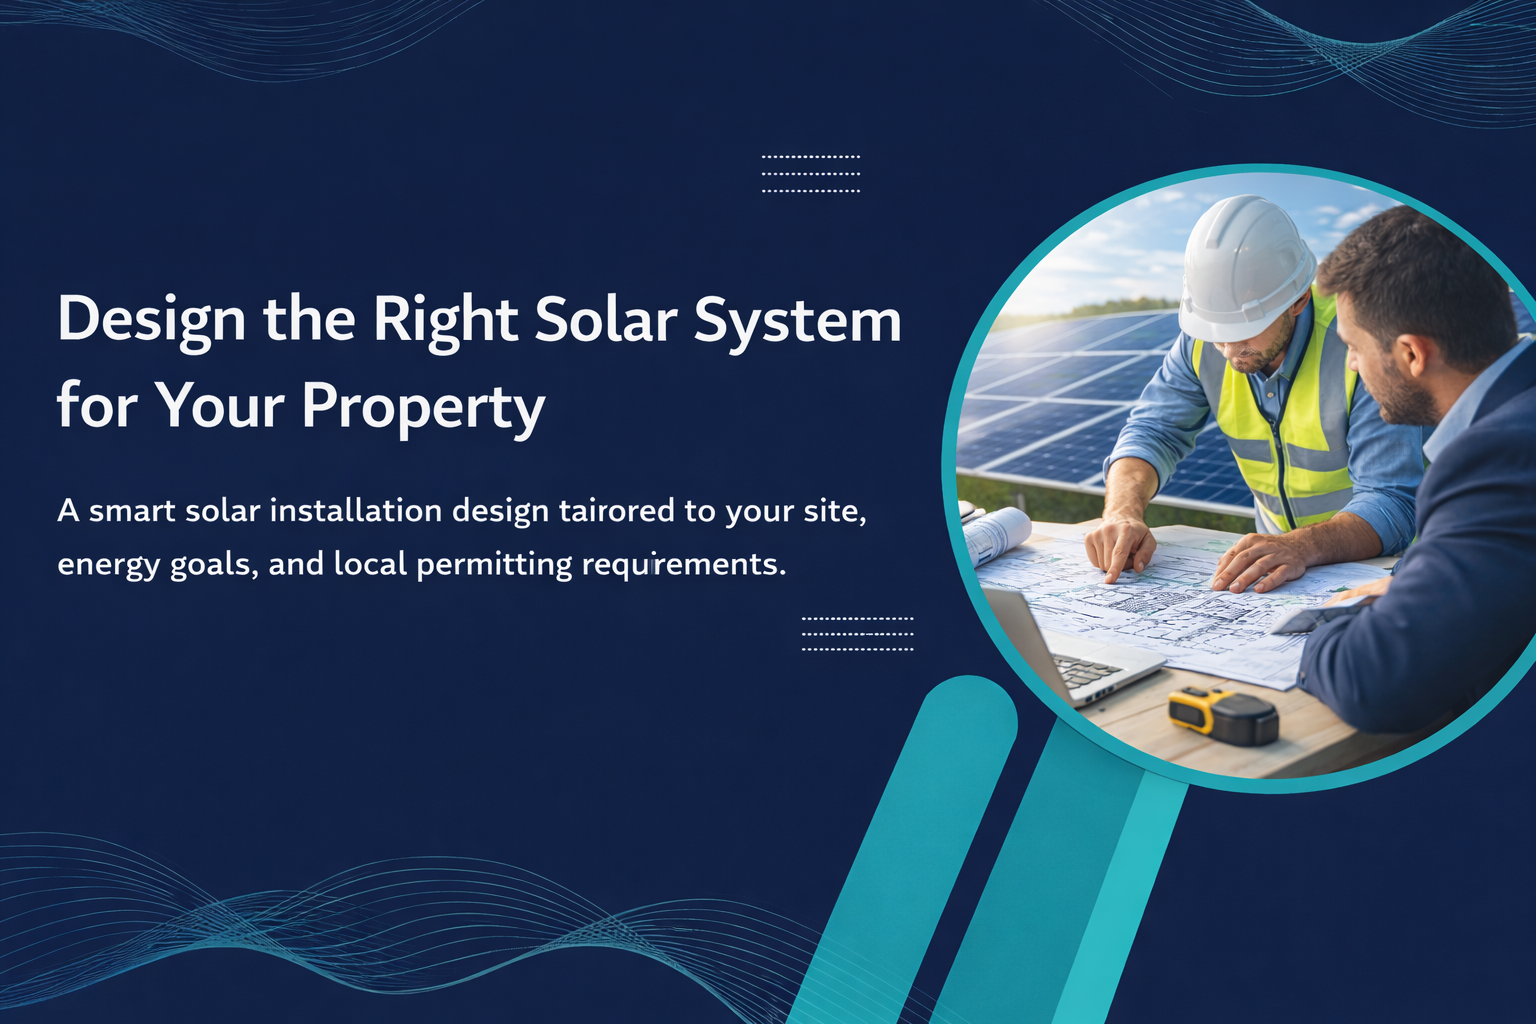
CAD (Computer-Aided Design) software enables precise creation of solar installation drawings that permitting officials expect. When municipal inspectors review applications, they evaluate documentation for technical accuracy, code compliance, and design integrity.
CAD operates on three core principles essential for solar work:
Geometry and Spatial Accuracy: Solar installations require precise positioning of panels, mounting hardware, and electrical components. CAD enables millimeter-level precision that inspectors verify against electrical codes and structural standards.
Scalability and Documentation: CAD drawings scale perfectly from site plans showing entire installations to detailed electrical schematics. This clarity prevents misinterpretation by contractors, electricians, and permit reviewers.
Organized Layer Structure: Separating electrical, structural, and reference layers allows inspectors to isolate and verify specific systems without visual confusion.
Different platforms serve different needs:
| Software | Best For | Cost |
| AutoCAD | Complex commercial/utility installations | Higher |
| Fusion 360 | Residential/small commercial projects | Affordable |
| SolidWorks | Structural mounting system design | Moderate |
| Specialized Solar Software (Aurora Solar, SketchUp) | Rapid permit-ready documentation | Varies |
Recommendation for beginners: Start with Fusion 360 (free tier available) or SketchUp to learn fundamentals, then graduate to specialized solar software once comfortable with 2D/3D principles.
A complete solar permitting package includes:
Drawing Standards That Accelerate Approval:
The NEC Article 690 governs solar installations. Design around these critical requirements:
Strategy: Obtain current NEC Article 690 and local amendments before starting design. Many CAD software packages include code-checking tools that automatically flag violations.
Mistakes triggering rejection or revision requests include:
Prevention: Use a pre-submission checklist:
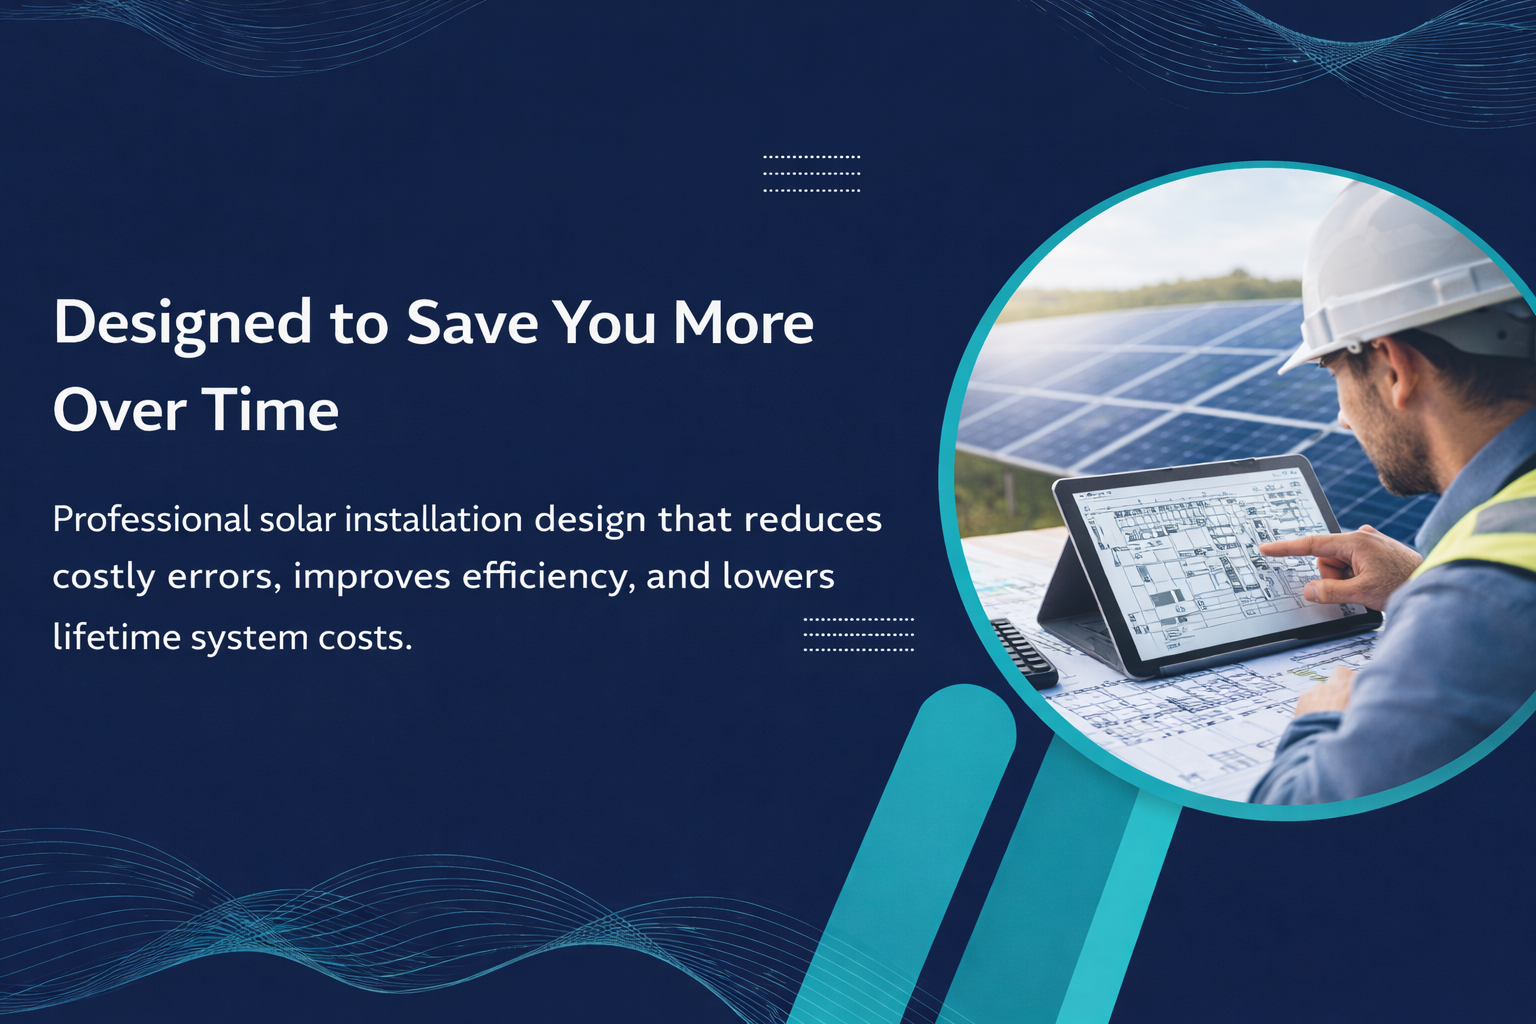
Once comfortable with 2D drafting, explore advanced capabilities:
3D Modeling: Create three-dimensional representations showing panel positioning, shading analysis, and how the solar installation coexists with roof-mounted HVAC or other penetrations.
Shading Analysis: Model nearby trees, structures, and seasonal sun angles to verify panel placement won’t be unnecessarily shaded.
Parametric Design: Use tools allowing quick modifications. If a client requests moving the array or changing panel orientation, parameters automatically adjust related dimensions, angles, and load calculations—saving hours of manual redrawing.
PE stamp requirements vary by state and project size:
PE stamp typically required:
PE stamp typically not required:
Best practice: Consult your state’s electrical board and local authority having jurisdiction (AHJ) to confirm requirements for your specific project type.
Mastering CAD drafting for solar installations accelerates permitting, reduces revisions, and builds professional reputation. Begin with foundational concepts, select appropriate software, and practice systematically with increasingly complex projects. Engage with industry experts, stay updated with code changes, and never hesitate to ask inspectors what documentation they need most. Your commitment to precise, compliant documentation directly accelerates your clients’ solar systems from design to operation.
Key Takeaway: Accurate CAD design isn’t just about creating drawings—it’s about communicating clearly with permitting officials, preventing costly delays, and ensuring safety. Invest in proper training, use industry-standard software, and maintain rigorous documentation practices. This investment pays dividends through faster approvals and stronger professional reputation.
FAQs
1. How does accurate CAD design speed up permitting?
It provides clear, code-compliant documentation that reduces review cycles and clarification requests, often cutting approval times in half.
2. What is the most common CAD mistake in solar projects?
The most frequent errors are unclear dimensions, inconsistent scales, and missing electrical details like wire sizes and breaker ratings.
3. Which software is best for beginners?
Fusion 360 and SketchUp are recommended for learning fundamentals before graduating to specialized tools like Aurora Solar or AutoCAD.
4. Why is a layered structure important in CAD drawings?
Organized layers allow inspectors to isolate and verify specific systems (electrical, structural, etc.) without visual confusion.
5. How often should solar designs be updated for code changes?
Drawings should be updated every three years to align with new NEC releases and whenever local amendments are issued.
6. When is a Professional Engineer (PE) stamp required?
A PE stamp is typically required for utility-scale projects (50+ kW) and large commercial installations, depending on state-specific laws.
7. What is the career outlook for solar CAD designers?
The outlook is strong, with salaries ranging from $45,000 to $75,000+ and opportunities for advancement into engineering or project management.

Find out how leading companies use DIN to stay ahead of the competition and reduce critical costs. Get in Touch